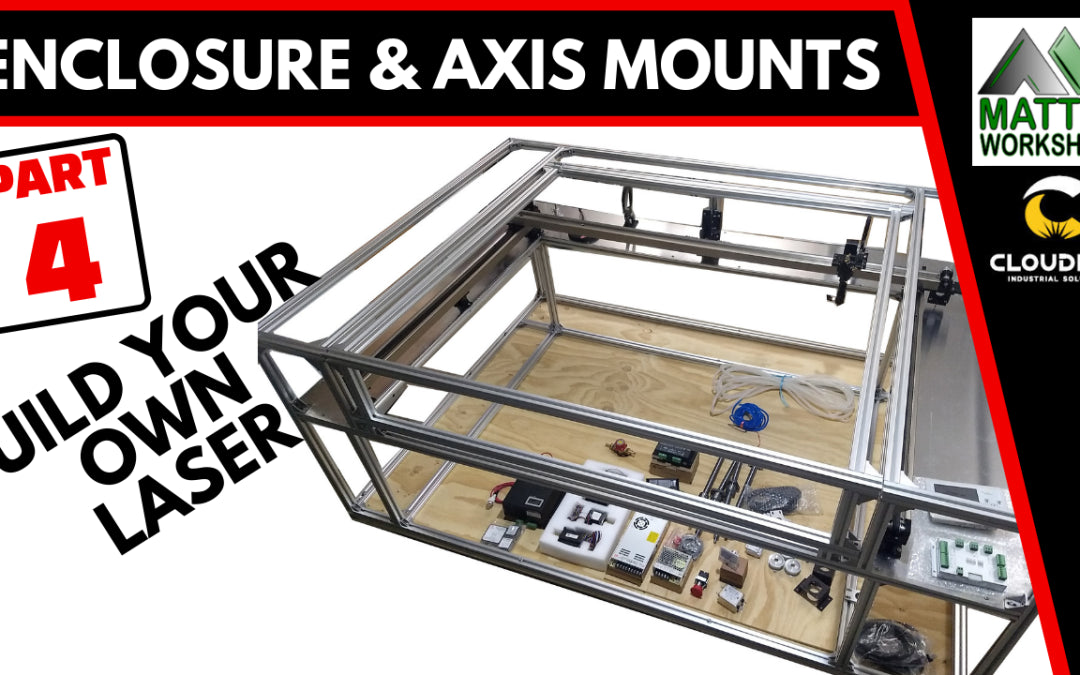

Building your own Co2 Laser can be challenging. In this video I continue the enclosure build and mount the X&Y Axis rails.
I also preview some of the components I will be installing in future videos for this build..
The mechanical parts I am using for this build are from Cloudray Laser.
The Aluminium T Slot I purchased from http://www.mkalu.com
The 1.6mm Aluminium Sheet I Purchased on ebay: (Sorry Link Removed – No Longer Valid)
Note: This will be continually added to throughout the build so check back Regularly for Updates.
Cloudray Mechanical Parts Set Inner Sliding Rails Kit – https://amzn.to/2XBYzK6
Cloudray Laser Power Supply – https://amzn.to/2LH9uzP
POWER SUPPLY ALSO AVAILABLE FROM MW LASER – Co2 Laser Parts | MW Laser
10600nm Laser Safety Goggles – https://amzn.to/2XCXpCE
Cloudray Lift Metal Parts with Stepper Motor and Motor Driver – https://s.click.aliexpress.com/e/_9wOm1l
CO2 Laser Tube Holders – https://amzn.to/2XynrXX
Cloudray CR35 + CR45 Laser Tube – https://amzn.to/2XzzF2k
RECI Laser Tubes – https://amzn.to/2xDPLbZ
Red Mushroom Emergency Stop Button – https://amzn.to/2xCwGa5
TROCEN AWC708S Controller – https://amzn.to/2xHkYuI NOTE: AWC708S has now Discontinued and
Replaced by Trocen AWC7813 – https://amzn.to/3jhJomK
The Aluminum Sheet Cutter I used was purchased off eBay (Sorry Link Removed – No Longer Valid)
3030 Cast Angle Brackets also off eBay (Sorry Link Removed – No Longer Valid)
As well as a bulk bag of Sliding t-Slot nuts for the 3030 profile (Sorry Link Removed – No Longer Valid)
Thanks for Visiting.
Until next time, take care
Cheers Matthew
Check Back Soon For More Information.
COMMENTING HAS BEEN TURNED OFF DUE TO CONSTANT SPAM MESSAGES ON THIS PAGE